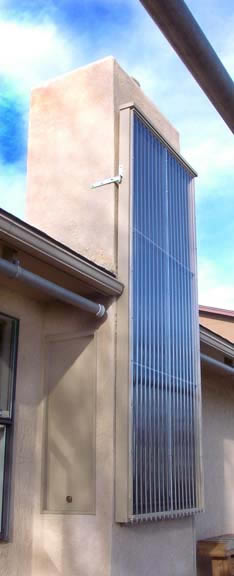
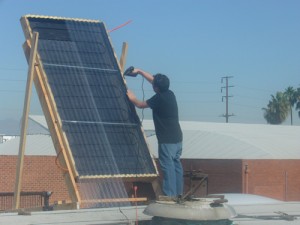
From our customers projects;
Twin Wall Glazing Question
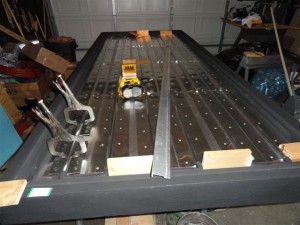
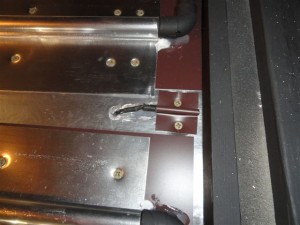
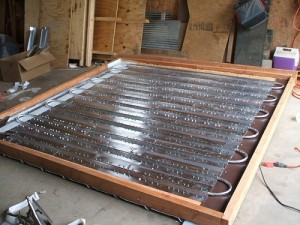
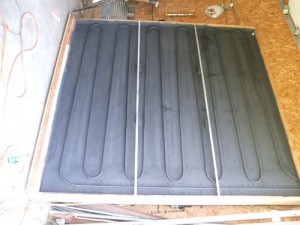
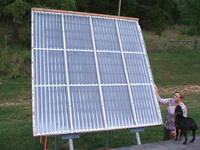
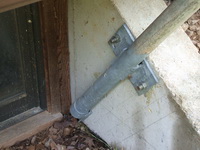
Here are some pictures and drawings from a very competent builder. This is one of the nicest home built hot water solar collectors I have ever seen. He used aluminum and galvanized materials in areas that have traditionally been wood, eliminating the most vulnerable spots that a DYI panel will see deterioration.
Thanks Wolfgang for an awesome pictorial of your panel. > click here to view
Tom
**************************************
During the last week of August my wife and I flew, with my personal plane, out west for the 30th Anniversary Celebration of Lancair (a kit plane manufacturer) in Redmond OR . I contacted Gary Reysa, of Build it Solar fame, and arranged to meet up with him and his wife for a day to review his projects and go out for dinner. We arrived in Bozeman about 2 PM and had a great time looking at the many projects he has completed over the years. His location on the base of the mountain was as spectacular as the pictures on his website have always shown. It was pretty evident why there is a back drop to many of his photos; that mountain is pretty majestic. My wife and I extend our grateful thanks for hosting us for a brief period on our way out west. I promised him we would stop again when I get the new plane completed.
**************************************
A recent customer from Hawaii sent me this comment. We thought it was stretch, sending our absorber as the way to Hawaii, with the high shipping costs. It was sure nice to get his feedback.
Tom,
I built my own solar collector with scrap materials lying around the house, about 180 inches long and 45″ wide (I used two glass plates totalling that size). I bought from you 36 absorbers and from plumbing store 1/2″ copper pipe and fittings. No other expenses.
On sunny days this produces 160 gallons of water so hot I cannot keep my hand on the pipe.
Electricity is very expensive in Kauai, over $.45 per kilowatt hour. This should pay for itself in several months.
Thanks for your web site, and for the prompt shipping of the plates.
Rudra
**************************************
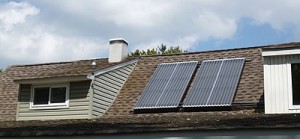 Tom,
Tom,
I had ordered your absorbers and clamps a few months back and told you I’d send you some pics when I was finished. I sent the same file to Gary at BuildItSolar for use on his site. Feel free to use any and all info you yours. The absorbers and clamps worked out great, couldn’t be happier. >>> Click here to view complete project in pdf
Thanks
Matt
**************************************
A great project by Jim in Green Bay, WI
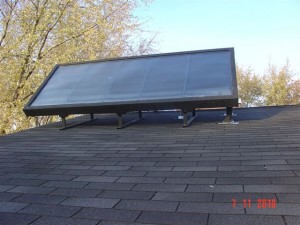
(click photos to enlarge)
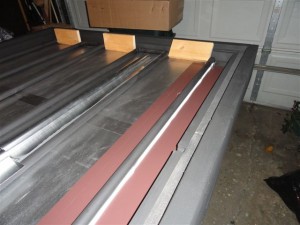 You’ll see I ran silicone caulk along the edge of the copper pipe and the supporting aluminum. Not sure I should have used the 6″ wide aluminum strip underneath (3″ better?) but I picked it up cheap at Menards ($3 for 10 foot roll on sale). Because I’m mounting my panel with my pipes horizontal, I used wooden spacer blocks to keep my pipes spaced correctly until I had everything screwed in place. I also used a straight edge along to pipe to keep it straight while I screwed the absorber plates in place. Unfortunately my runs are not the recommended 1/4″ slope per foot. My runs vary between 3/4″ per 10′ to 1″ per 10′. My biggest worry is not draining back – probably everyone’s biggest worry in a drain back system, I suppose…
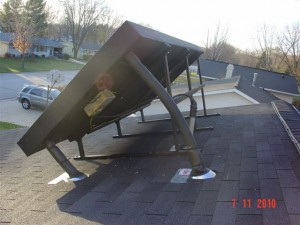 Jim’s updates over the last two weeks. He’s really going to town on this project.
11/02/10
I mounted all my absorber plates on Saturday and was able to get the panel on my roof on
Sunday late. It looks better on my roof than I had anticipated and even my
wife is coming around.
As you may remember, I did not use Polycarbonate but instead I used a solar fiberglass material. It was VERY easy to work with – I even cut it to length using a tin snips. However, I discovered that it scratches VERY easy and static was also a VERY big problem for me. It was very difficult to get
the dust off the material just before installing it on my roof. I ended up using compressed air cans that are used for cleaning computers and even that did not get it all off. I’m hoping it falls to the bottom of my panel over time.
11/11/10
I ordered some plastic plugs from McMaster-Carr for the frame ends which I installed tonight so water doesn’t rust the inside of the frame tubes. You’ll also find a photo of a data collection circuit that I’ve been building that I will use to display and store digital thermometer data every few minutes so I can chart the various temps. I have two thermometers inside the solar panel wrapped in aluminum and painted solar black as mentioned in my previous E-mail. They are not connected to the aluminum
absorber plates so they won’t be influenced by the lower temp of the water as it flows through the copper pipes. I have another thermometer mounted to the inlet pipe and another one mounted to the outlet pipe (next to Steca controller thermometer) so I can determine the rise in the water temp. I’ll
mount another thermometer outside somewhere (ambient air temp), one at the bottom of the water tank and another one at the top. I have 14 of these thermometers total but I think I’ll only use about 7.
The roof work is now 100% complete.
Last Saturday while I was working on the roof, I carried that little circuit board to the roof and connected it to one of the inside thermometers at around 1:30pm. It measured 214 degrees!
This week I modified the software of the circuit board to capture the maximum temperature of each of the inside thermometers. Yesterday the East one hit a peak of 198.5 deg and the West one hit 197.6. These little things are VERY accurate. Today the East one hit 208.4 deg and the West one hit 213.8 deg.
I still have tank work to do, pipe runs to support, slope, and insulate, pump to plumb and wire, etc. I hope to be operational by Christmas. I wish this were summer so if I have drain back problems I would not have to worry about freezing…
11/15/10
I finished sloping, supporting, and insulating my pipe runs through my garage attic and down an interior wall to my basement. I need to finish my tank (EPDM liner), mount my pump, and finish my plumbing and wiring in the basement. Should only be a couple weeks to go. Feel free to pass along
your thoughts.
Jim
**************************************
Don in Arkansas built this real nice solar collector that utilizes the space under the siding (footings or basement).
>>>>> click here to view the slideshow <<<<<
His comments;
This week Jeremy and I built a solar water heater for his house. It is 20 feet long and 2 feet wide and sets near the ground. From the street it will not be noticeable. It is on the south of the house so it should be protected from the coldest weather. It is designed to get free hot water 8 months of the year and cut the costs another two months. We’ll see. It is working great today! The cold intake is going through the collector. Normally Jeremy keeps his hot wataer tank at 115 but today it is at 135 and climbing.
It’s a 70 gallon Marathon so can go to 180. We ordered a tempering valve today to keep the water at a safe temp. Will install next week. Click here to view the slideshow
**************************************
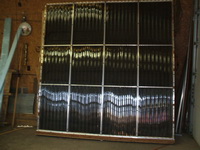
A very nice 8′ x 8′ panel by Mark in Missouri, his comments below;
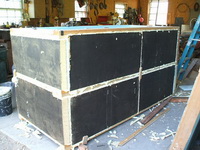
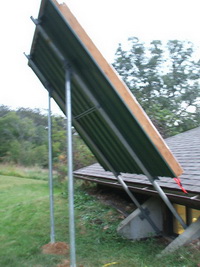
The picture of the glazed panel shows it upside down in my shop. I did not plan on the vertical dividers Aluminum exterior, wood interior at the overlap of the panels but the corrugated glazing was too flimsy. Wish I would have driven to Wisconsin for the twin wall flat poly carbonate. The frame is eastern red cedar, the back is two layers of 1/2 plywood glued and screwed together in a criss cross pattern with 1 center wood cross support which is a nailer for the back cover also. Back is light gauge steel
roofing material over 1 inch of insulation since it will be visible. It is going on a 2″ schedule 40 pipe stand behind my house, not on roof. Collector will drain into tank in basement garage below . Will mount with front end loader on tractor and some grunt work and use 6 -3/8 x 2.5″ pipe clamps to attach to the pipe I will send pictures when it is installed.
I will start on insulating and lining my tank and plan to purchase pump and the controls soon.
Thanks for your help
Mark
9/28/10 update;
Project is coming along -slowly. Had to throw in a two week trip to Vermont to play some music recently and camp out just to slow things up. Music always gets in the way of progress it seems.
Hope to be pumping in a week or so.
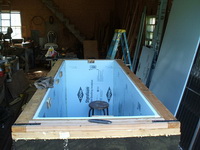
The tank was covered with osb on outside, and has 5 inches of insulation on all sides/bottom.
I put a fitting out bottom for solar collector pump. (found bronze bulk head fitting for this from marine supply place for $15.00) wood boiler heat exchanger pipes will run over the sides and under top.
In process of getting wood boiler hooked up to work with the solar storage tank For wood boiler, I will have about 500 feet of “closed” loop including heat exchanger in plenum and 200 ft or so in storage tank and lines running to and from my basement. I may also run a radiant heat loop in the future which would add to the circulation needs and would like to keep it going with one pump.
Thanks for your help and inspiration
Mark
**************************************
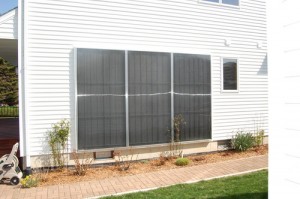
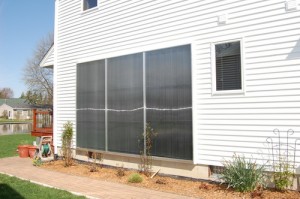
Knick Knickerbocker’s nicely built solar collectors. Another system with twin wall polycarbonate. Note the professional installation on the side of the house, located near Grand Rapids, MI. Knick has most his plumbing done, heat exchanger in, but he’s still working on a pump before going live.
